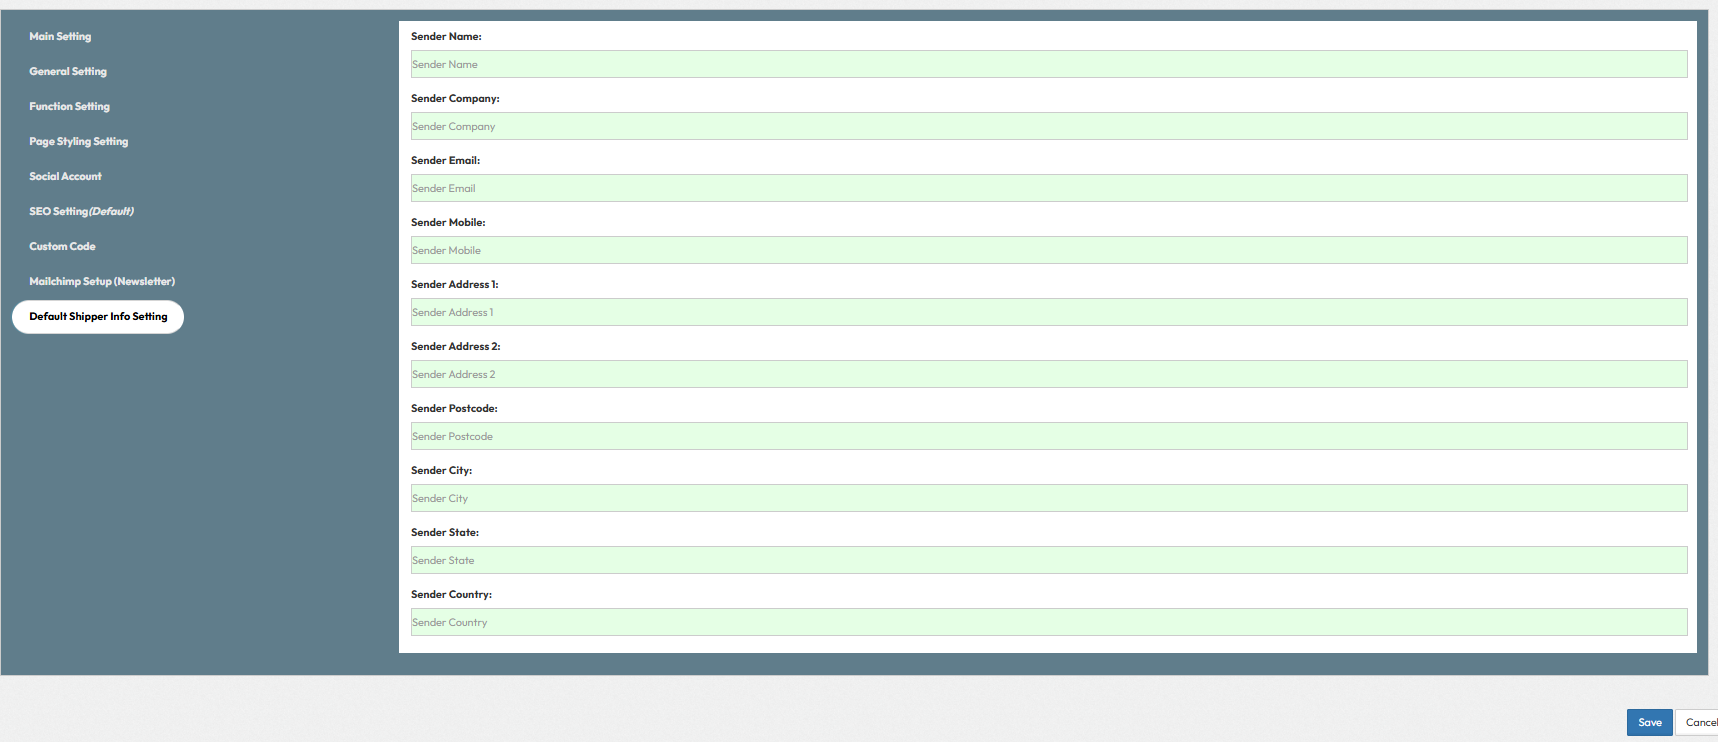
Part 1: Sender Identity
- Sender Name: The name of the person or department responsible for shipping.
- Sender Company: The official company name to appear on shipping labels.
- Sender Email: Email address for shipping notifications and tracking updates.
- Sender Mobile: Contact number for courier inquiries or pickup scheduling.
Part 2: Address Details
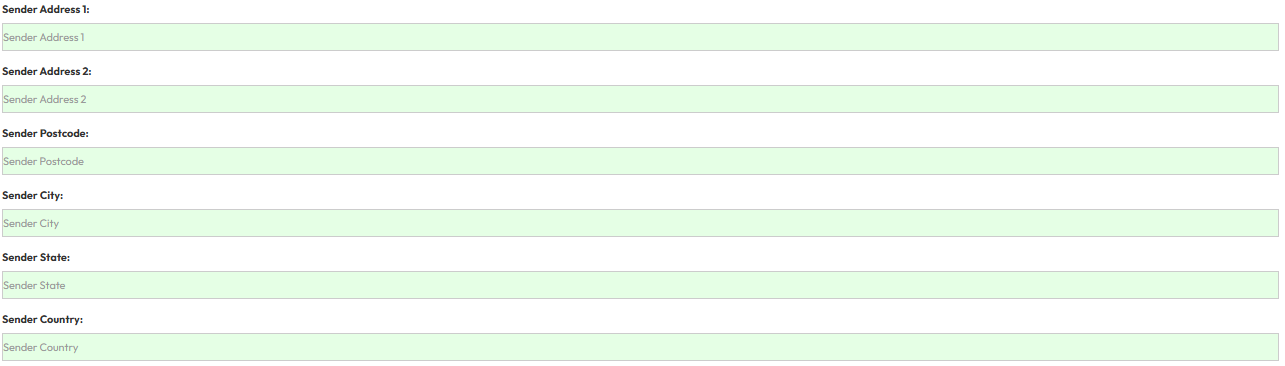
- Sender Address 1: The primary street address of your warehouse, office, or fulfillment center (e.g., 123 Commerce Street). This will be printed as the main return address on shipping labels.
- Sender Address 2: Optional. Use this for suite numbers, unit numbers, building floors, or specific department names .
- Sender Postcode: The postal code of your sending location. This is strictly required for courier to determine pickup zones.
- Sender City: The city where the package will be dispatched from. (e.g., Johor Bahru).
- Sender State: The state or region of the sender address (e.g., Johor). Required for domestic and cross-border shipping calculations.
- Sender Country: The country of origin.
Part 3: How This Data Works in Practice
The data you fill out above acts as the master "Ship From" profile for your entire store. Once saved, you do not need to re-type this information. Here is exactly how this layout is used behind the scenes:
1. On Printed Shipping Labels:
- When you generate a label, the courier (e.g., FedEx, DHL, USPS) requires a "From" address. This form automatically populates the top-left corner of the PDF label. If a package is undeliverable, the courier uses this address to return the item.
2. In Customer Tracking Emails:
- Many automated tracking emails will say: "Your package has shipped from Sender Company located in Sender City or Sender State."
3. For Courier Pickups:
- If you schedule a doorstep pickup, the courier driver's app will route them directly to the Sender Address 1 and Sender Postcode you provide here.