Section 1: Code Types & Usage Guide
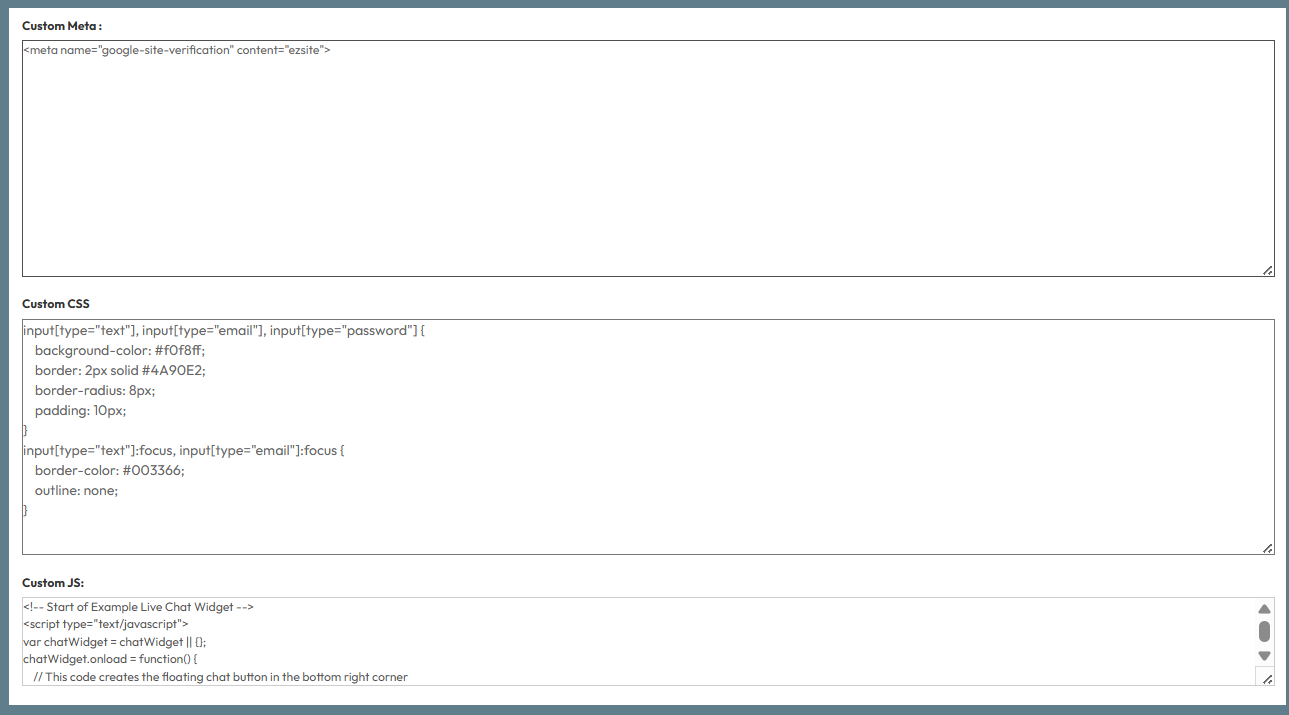
This section is designed for advanced configurations. Below is a breakdown of what each field does and when to use them:1. Custom Meta (HTML)
- What it does: Inserts custom HTML meta tags into the <head> section of your page.
- When to use it: Used primarily for third-party domain verification (e.g., proving ownership to Google Search Console or Facebook) or adding specific meta data not covered by the default SEO settings.
- How to use: Copy the entire code snippet provided by the third party (e.g., <meta name="google-site-verification" content="...">) and paste it here.
2. Custom CSS (Styling)
- What it does: Overrides your website's default design using Cascading Style Sheets (CSS).
- When to use it: Use this to change colors, adjust fonts, resize elements, or hide specific features when the default theme settings do not provide the exact option you need.
3. Custom JS (Javascript)
- What it does: Injects custom scripts into your website to enable interactive features or background tracking.
- When to use it: Used for adding third-party tracking scripts (like Google Analytics or Meta Pixel) or implementing custom functional behaviors.
- How to use: Paste the exact code snippet provided. JavaScript code usually starts with <script> and ends with </script>.
Section 2: Custom Code Example
Let's say you want to change the appearance of standard text, email, and password input boxes (like login or contact forms) to match your brand. You can paste a custom CSS snippet like this:
input[type="text"], input[type="email"], input[type="password"] {
background-color: #f0f8ff;
border: 2px solid #4A90E2;
border-radius: 8px;
padding: 10px;
}
input[type="text"]:focus, input[type="email"]:focus {
border-color: #003366;
outline: none;
}
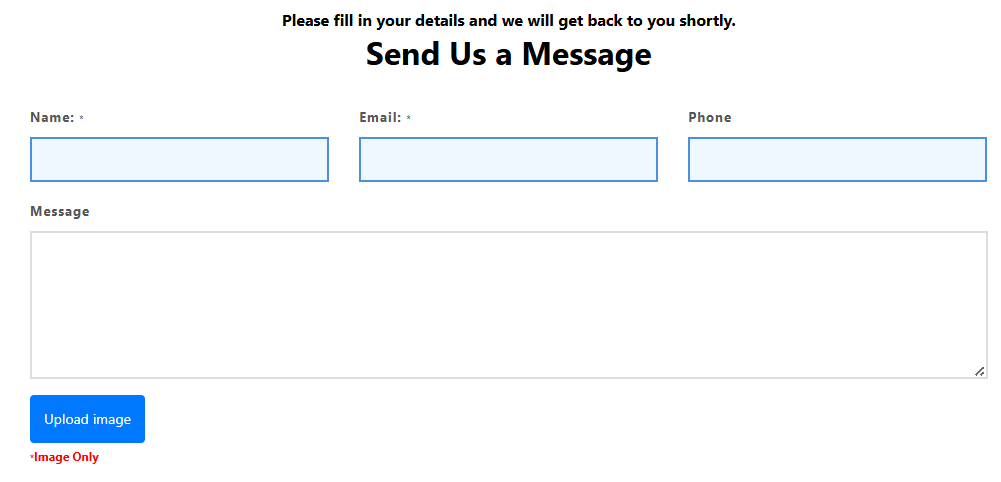
As you can see the images, this code changes the standard input boxes to have a soft blue background and a rounded blue border, giving them a customized, professional look. When a user clicks inside the box, the border turns dark blue