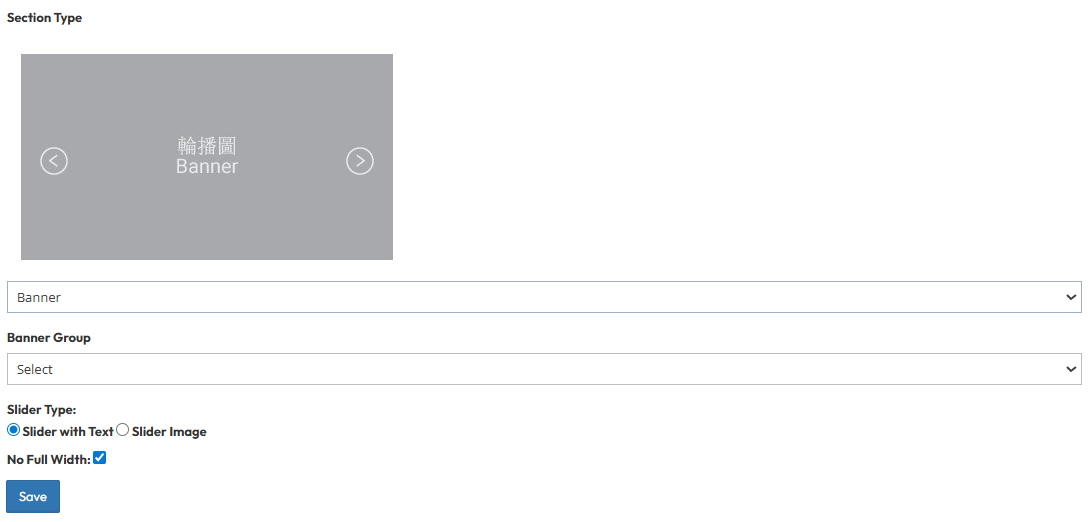
Part 1: Banner Overview
Section Type: BannerDescription: A dynamic slider or static banner section managed via a centralized sidebar system. It supports multilingual content, motion effects, and responsive typography. Ideal for creating impactful hero headers or promotional campaign areas.
Key Use Cases:
- Hero Headers: The main visual area at the top of the homepage to capture attention immediately.
- Promotional Campaigns: Highlighting sales, new products, or events with a rotating carousel.

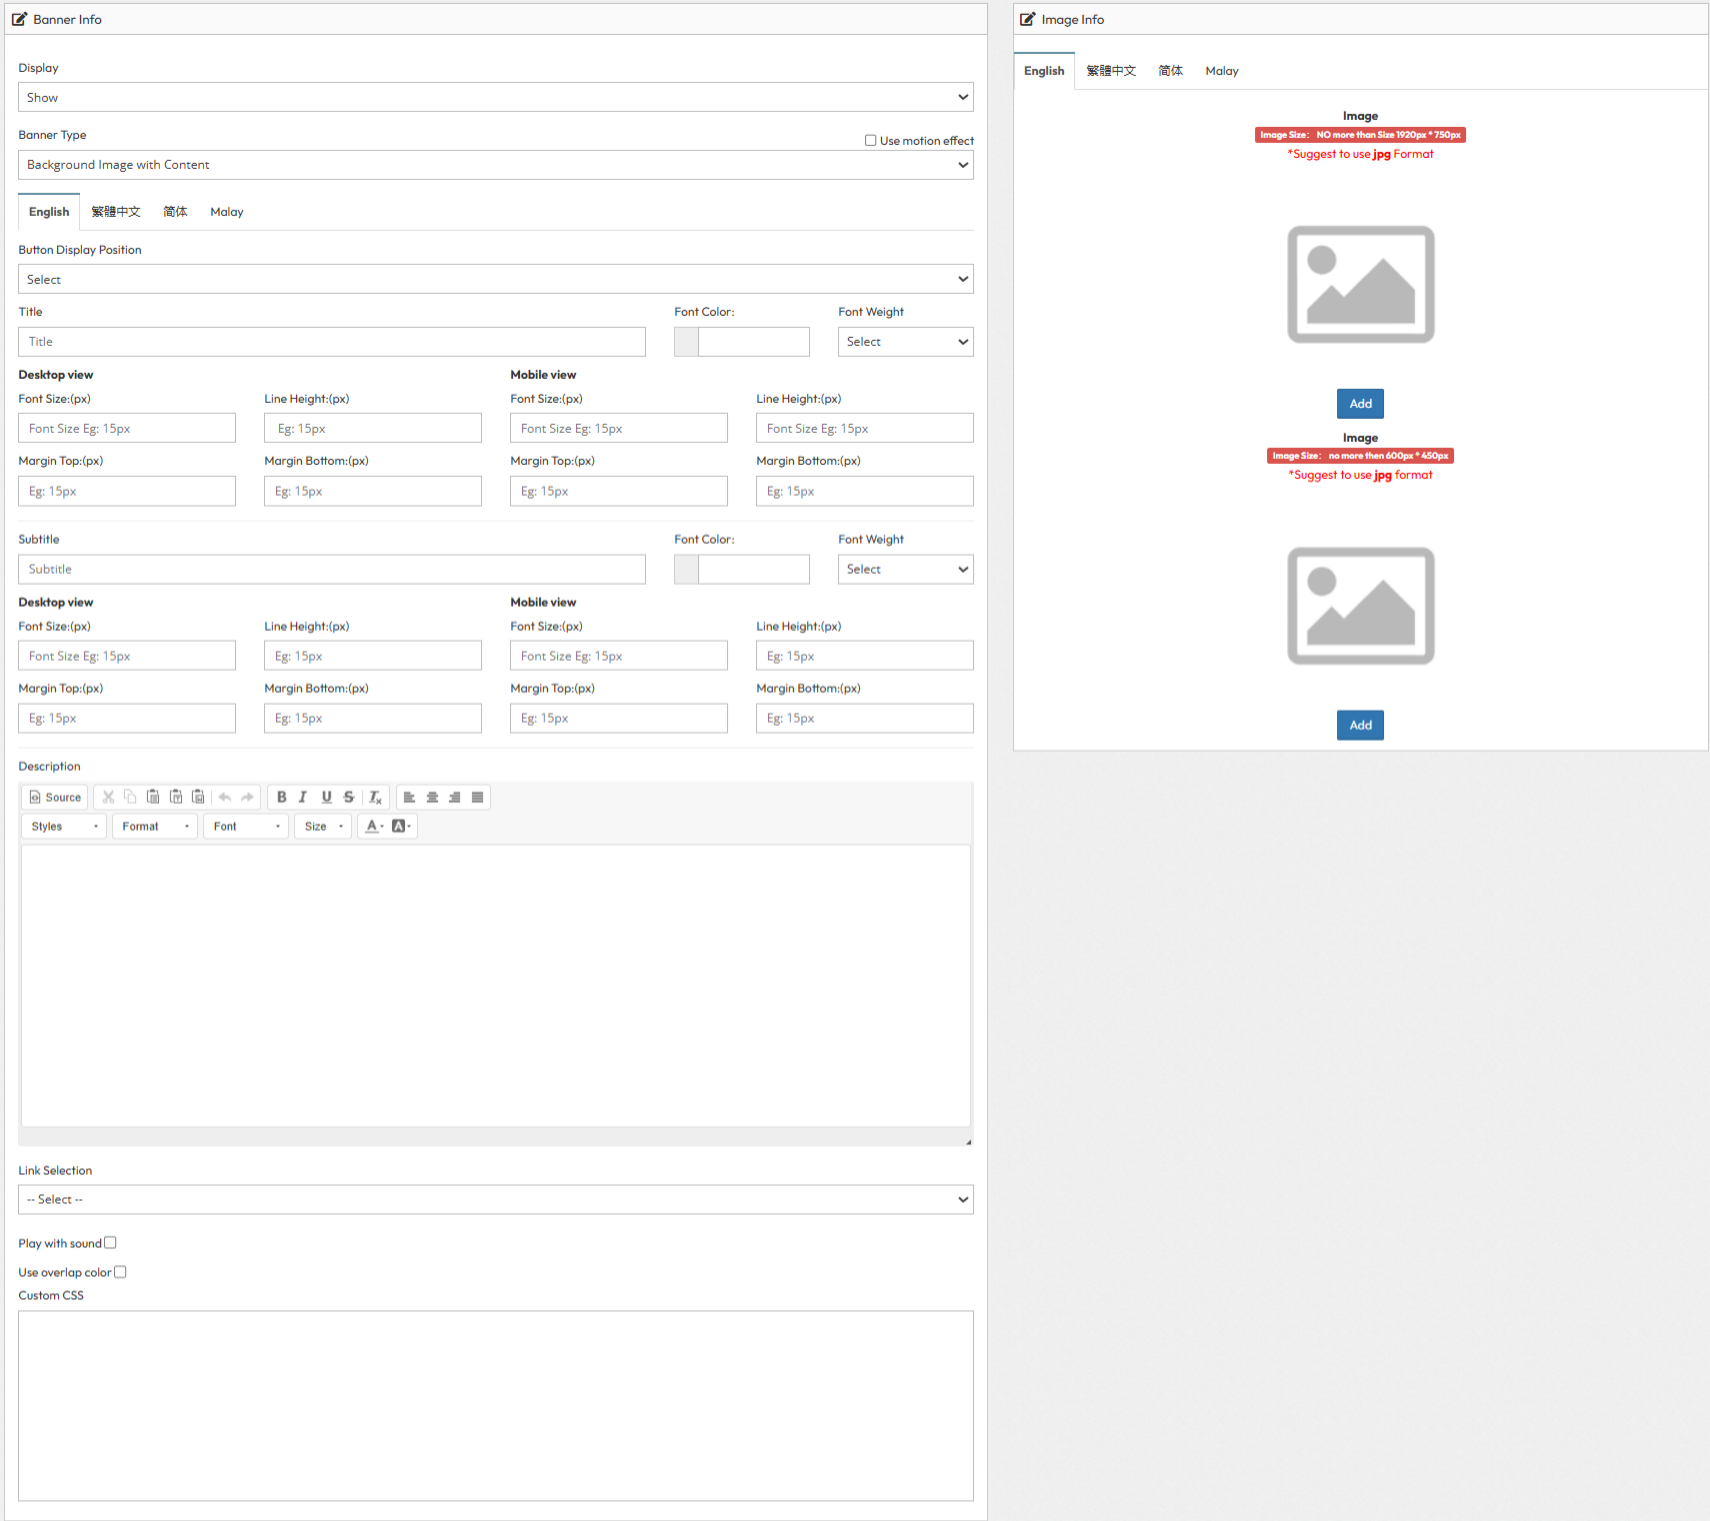
Step 1: Add Banner Slides (Create Content)
Create individual banner slides (images or videos) to be used in your slider.1. Display Settings
- Display: Toggle Show to publish or Hide to unpublish the slide.
- Banner Type: Select the format:
- Background Image with Content
- Image Only
- Background Video with Content
- Motion Effect: Toggle to enable entrance animations.
2. Content Management
- Multilingual Input: Switch language tabs (EN/CN/MY) to enter:
- Title: Main headline.
- Subtitle: Secondary headline.
- Description: Body text.
- Link Configuration:
- Link Selection: Choose None, Internal Link, or External Link.
- Link Page: Select a page from your site (for Internal Links).
- Link URL: Enter the full URL (for External Links).
3. Typography Settings
Configure text styles for Title, Subtitle, and Description independently:
- Font Color & Weight: Select colors and thickness (e.g., Bold, Normal).
- Responsive Settings:
- Desktop View: Set Font Size, Line Height, and Margin (Top/Bottom).
- Mobile View: Set independent Font Size and Margin for smaller screens.
- Button Display Position: Select alignment (Left, Center, Right).
4. Advanced Options
- Background Overlay:
- Use Overlap Color: Toggle to add a color overlay layer.
- Background Color: Select the overlay color.
- Opacity: Adjust transparency (0.1 to 1).
- Video Settings: Toggle "Play with sound" if using video background.
- Custom CSS: Enter custom CSS classes for advanced styling.
- Image Info: Upload images in JPG format.
- Recommended Resolution: 1920px * 750px.
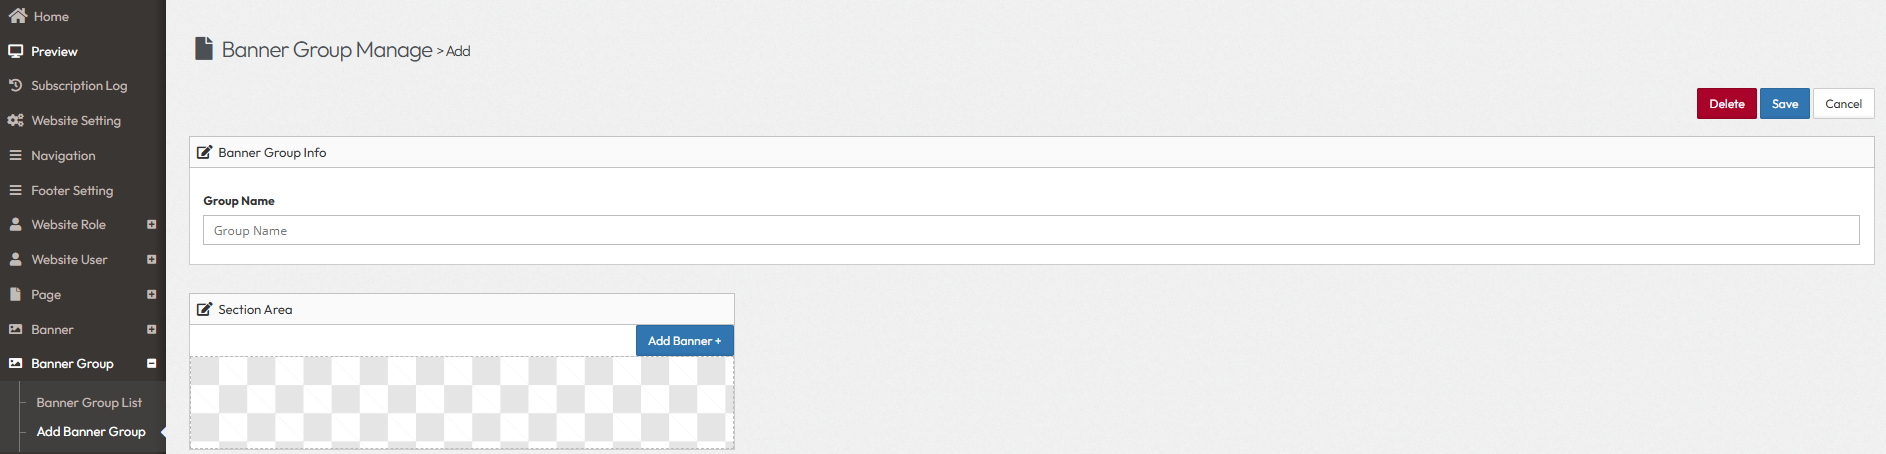
Step 2: Create Banner Group (Grouping)
Group your slides together to form a complete slider or carousel.Navigation: Go to Banner Group > Add Banner Group.
- Group Name: Enter a unique name for internal reference (e.g., "Home Hero Slider").
- Section Area: Assign the area where this group will appear (if applicable).
- Banner Name: Enter a descriptive title (e.g., "Summer Sale Campaign").
- Select Banner: Choose the individual banner slides (created in Step 1) to include in this group.
Step 3: Banner Display (Content Setting)
Configure how the banner group appears on the specific page.- Banner Group: Select the "Banner Group" created in Step 2.
- Slider Type:
- Slider with Text: Displays text content overlaying the slider.
- Slider Image: Displays images only.
- Container Width:
- Full Width: Stretch the banner to the edges of the screen.
- Contained: Keep the banner within the standard page container (Toggle "No Full Width").