Section 1: Overview of Data Managemen
What is Data List Management?
Data List Management is the centralized tool within EzSite for organizing, tracking, and modifying the structured information that powers your website. Rather than editing content directly on each individual page, you manage the underlying data here and your website pages pull from these lists automatically. Think of it as the engine room behind your website's dynamic content.
Why is Data List Management Important?
Data List management ensures that all your website information remains accurate, consistent, and up-to-date across every page where it appears. A single update made here can reflect instantly across multiple sections of your site. Beyond convenience, proper data management:
- Supports marketing efforts: testimonials, news, and other content stay fresh and engaging.
- Reduces errors: managing data in one place eliminates the risk of inconsistent information across different pages.
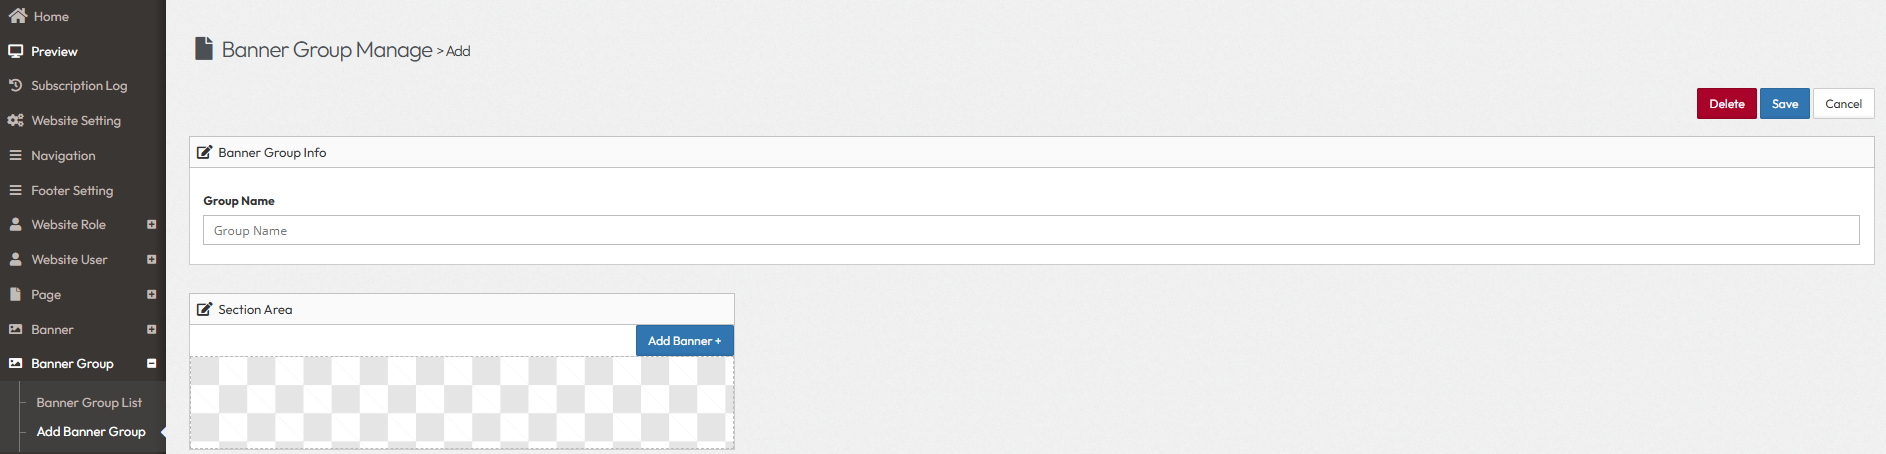
Section 2: Viewing and Organizing Your Data
How to View Your Data
To view any data list:
- Navigate to Data List in the sidebar.
- Select the specific data category you wish to manage (e.g., "News," "Testimonials").
- The data entries for that category will be displayed in a table format, showing key details such as name, date, status, and other relevant attributes.
Each row in the table represents a single data entry. The columns displayed vary depending on the data type, for example, a News entry might show the title, publication date, and associated category, while a Testimonial might show the customer name, rating, and description.
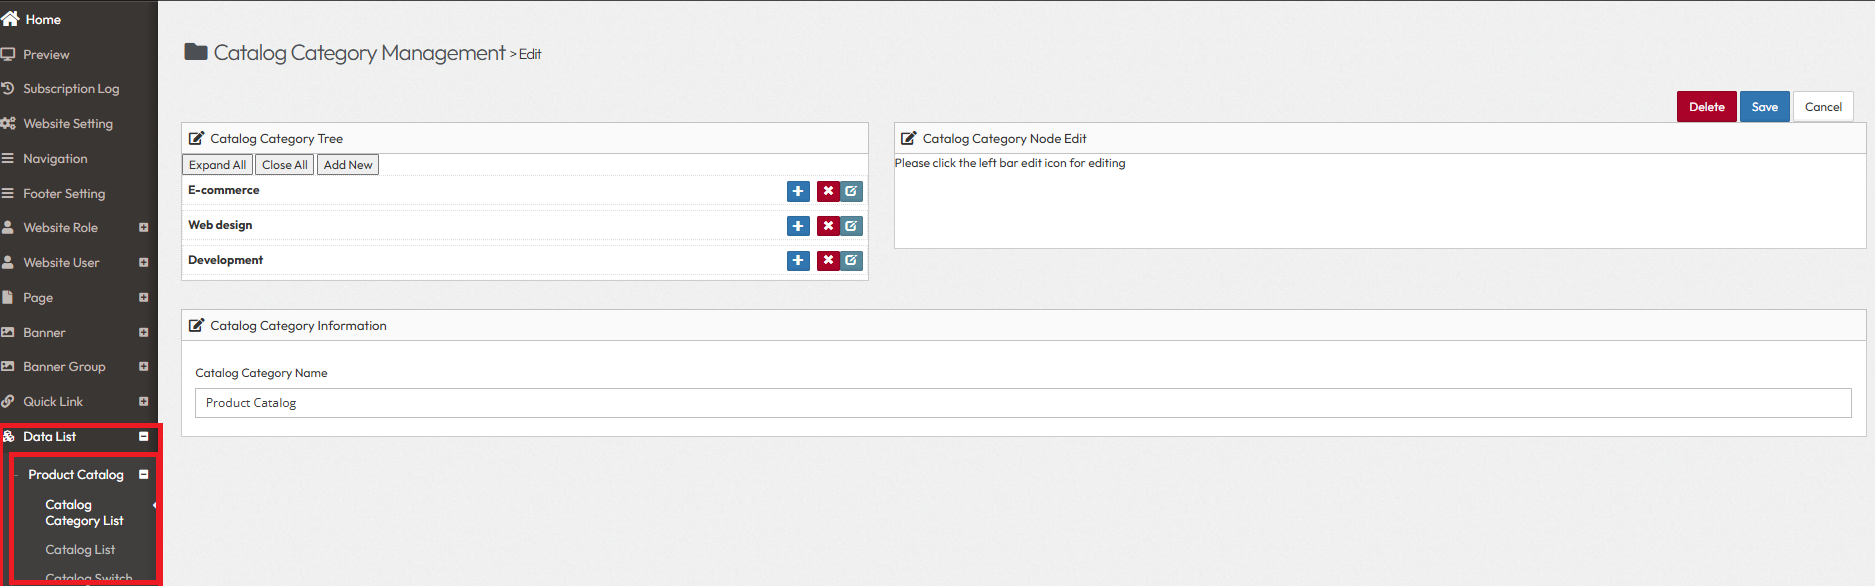
Section 3: Understanding Categories (Groups)
What is a Category?
- A Category (also referred to as a Group) is a classification system used to organize and group related data entries together. Categories act as parent containers, individual data entries are then linked to these categories for structured organization.
How Categories Work
- The relationship between categories and data entries follows a parent-child structure:
- Category (Parent): the group or label of item .
- Data Entry (Child): the individual item that belongs to a category.
Example Workflow: News & News Categories
- Step 1: Create Categories: Go to "News Categories" and create groups such as "Company Updates," "Industry News," and "Product Launches."
- Step 2: Create News Entries: Go to "News" and add individual articles. For each article, select the appropriate category (e.g., a press release about a new feature would be filed under "Product Launches").
- Step 3: Display on Website: Your website's News section page can then display articles filtered or grouped by these categories, allowing visitors to browse by topic.

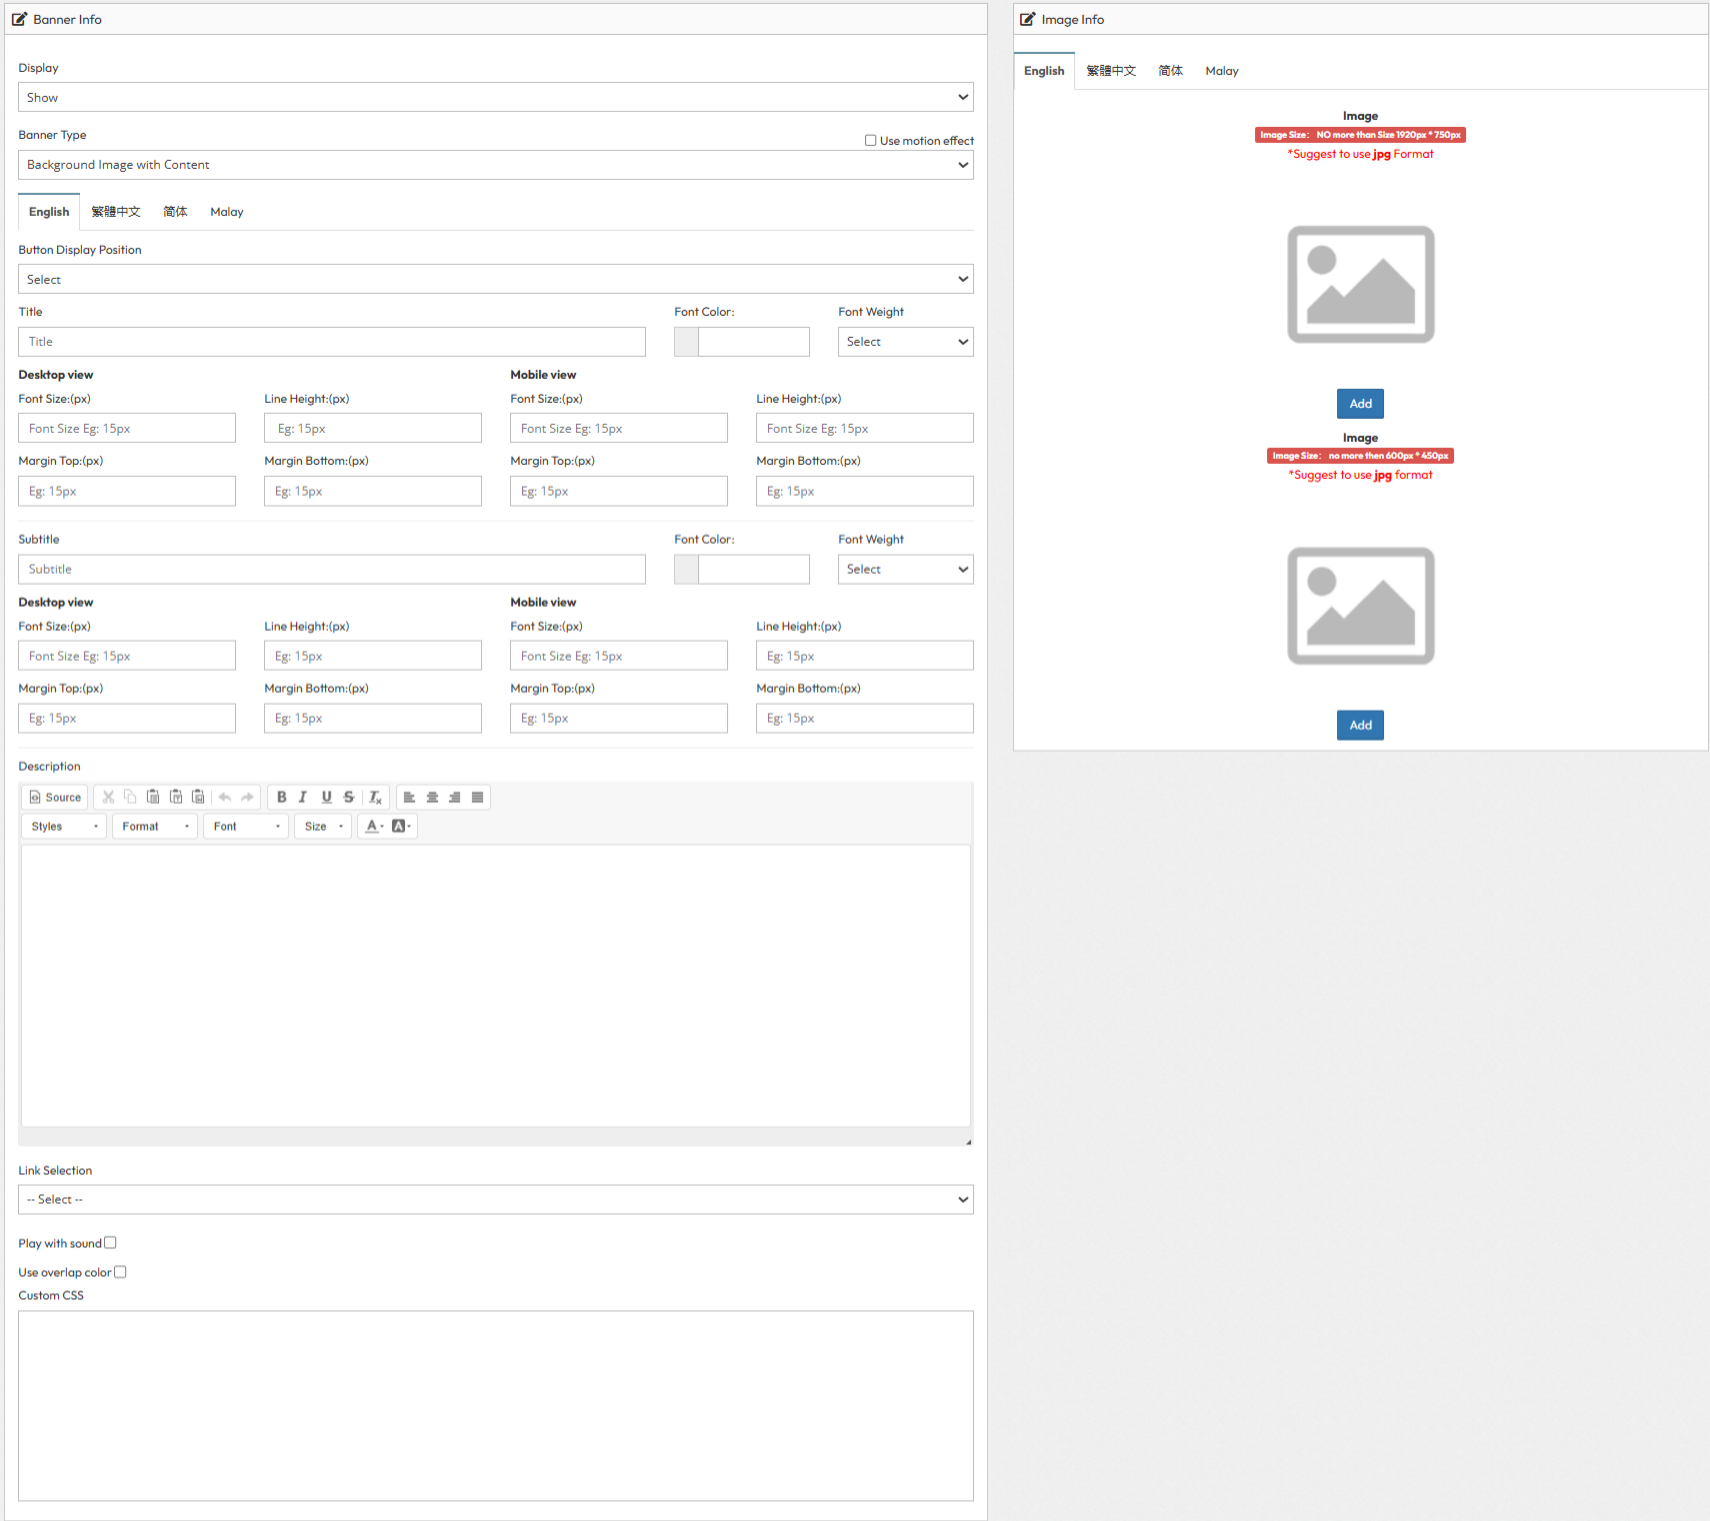
Section 4: Control Data Entries
The control panel layout is consistent across most data categories, so once you are familiar with managing one type of data, the same workflow applies to the others.
How to Add New Data
To create a new entry:
- Navigate to the desired data category under Data List.
- Click the Add New button located at the top of the data list.
- A form will appear. Fill in the required fields (marked with an asterisk) and any optional fields as needed. Example Common fields include:
- Title/Name: the display name of the entry.
- Category: select an existing category to group this entry (if applicable).
- Description: the main body text or details.
- OG Image/Media: upload an associated image or file (if applicable).
- Once all fields are completed, click Save to add the entry to the list.
How to Edit Data
To update an existing entry:
- Find the entry you want to modify in the data list.
- Click the Edit button next to that entry.
- The same form used for adding new data will appear, pre-filled with the current information.
- Update the fields you wish to change.
- Click Save to apply your changes.
How to Delete Data
To remove an entry:
- Locate the entry you want to delete in the data list.
- Click the Action button next to the entry (Delete) from the dropdown menu.
- Confirm the deletion.