Part 1: Timeline Overview
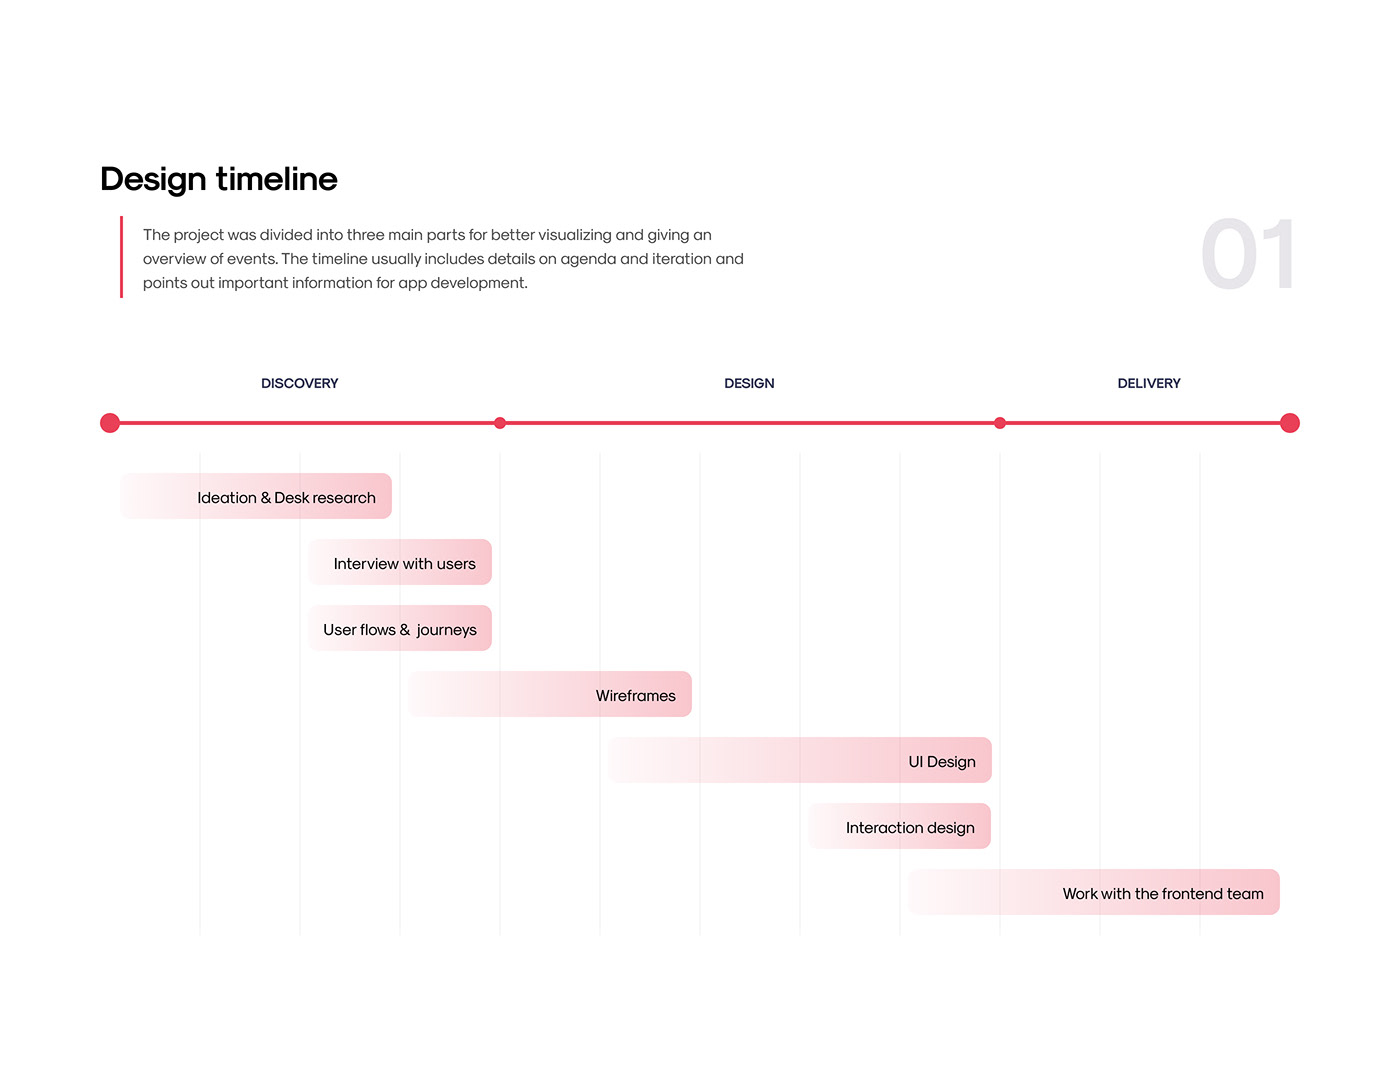
Section Type: TimelineThis section allows you to display a sequence of events, company history, project milestones, or a roadmap in a vertical or horizontal flow. It is perfect for storytelling progress over time.
Part 2: Timeline (Content Setting)
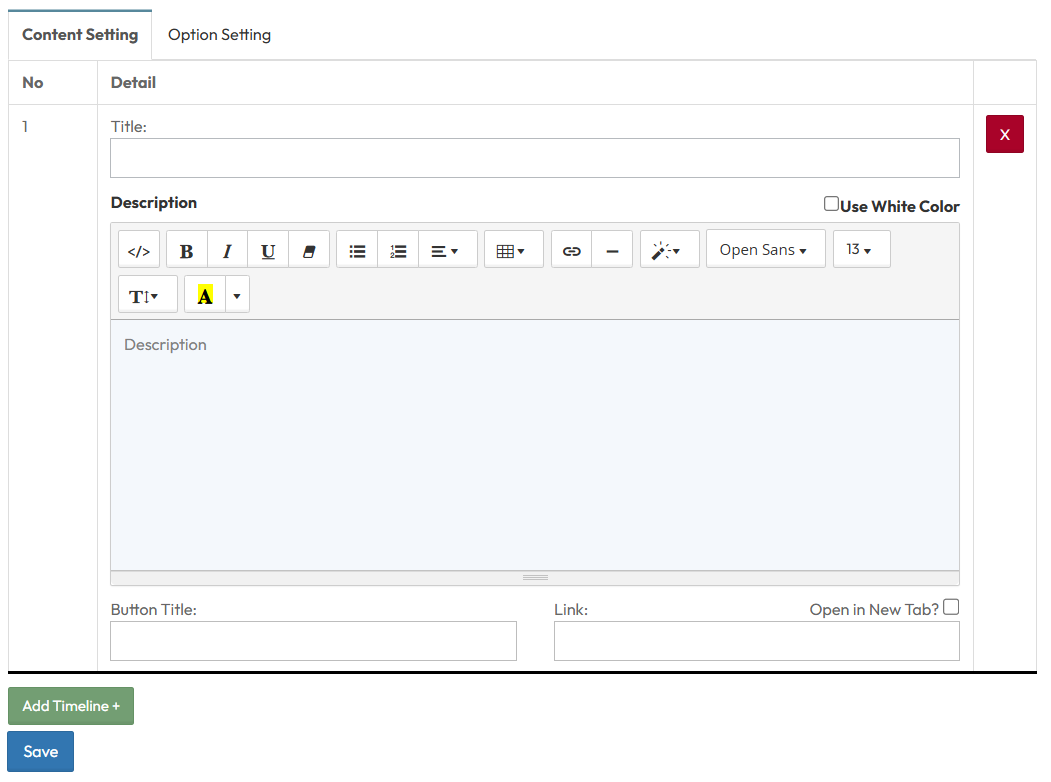
You can add multiple items to your timeline (e.g., Timeline 1, Timeline 2, Timeline 3). Each item represents a specific point in time.Timeline Table Field
- Title: Enter the title for this specific event (e.g., "2020: Company Founded" ).
- Description: Add detailed text about the event.
- Button Title: Enter the text for the Call-to-Action button (e.g., "View Details").
- Link: Paste the destination URL.
- Add Timeline: Click to add a new event entry to the timeline sequence.
Part 3: Global Option Settings
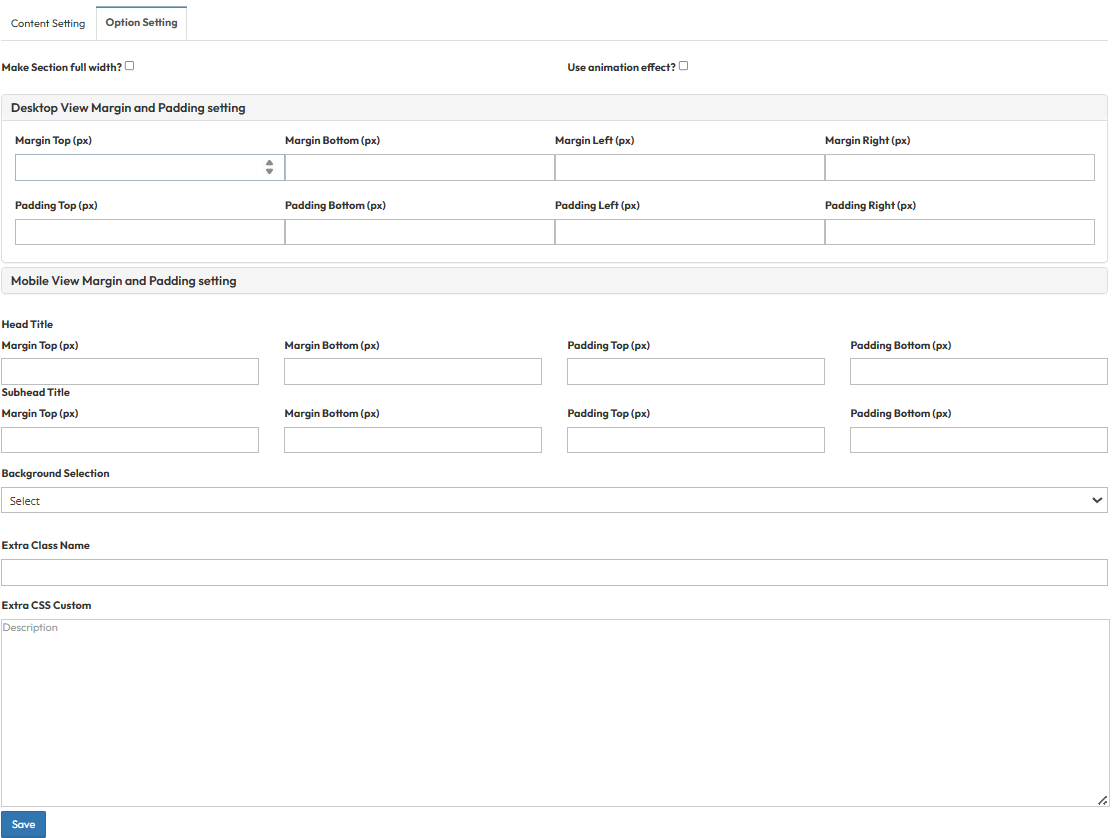
These settings control the layout container and spacing.Make Section full width?
- Stretch content to the screen edges.
Use animation effect?
- Enable fade-in or slide-up animations when scrolling to this section.
Desktop View Margin and Padding setting
- Adjust external (Margin) and internal (Padding) spacing for Top/Bottom and Left/Right to control layout distances.
Mobile View Margin and Padding setting
- Adjust spacing values specifically for mobile devices to fit smaller screens.
Background Selection
- Default: Uses the standard site background (usually transparent or white).
- Background Color: Fills the section with a solid color of your choice.
- Background Image: Upload an image (Recommended size: 1920x500px).
- Parallax Effect? Toggle Yes to create a 3D scrolling effect where the background moves slower than the content.
- Background Image with Color: Combines an image with a colored overlay.
- Opacity (1-0.1): Controls the overlay strength.
- 1 = Fully opaque (Solid color, image hidden).
- 0.1 = Very transparent (Mostly image).
Extra Class Name
- Enter a custom CSS class name to apply specific styles.
Extra CSS Custom
- Paste custom CSS code here to override default styles for this section.