Part 1: Blog List Overview
Section Type: Blog ListThe Blog List section dynamically pulls articles, news, and insights from the backend to display them in a structured list or grid. It supports rich media content (images, videos, sliders) within each post and is designed to improve SEO and establish thought leadership. It supports multi-language content and offers flexible layout styles.
Key Use Cases:
- Company News & Updates: Announce product features, events, or press releases to keep the audience informed.
- Industry Insights: Share thought leadership pieces and market trends to build authority and trust.
Part 2 : How to Configure Your Section
Follow these steps to set up your blog categories and posts:

Step 1 : Blog Category Manage
To categorize your blog items, you must first create the category groups here.Navigation: Data List > Blog Category.
Once you click 'Add Blog Category' button on top right , Category Info fields will shown:
- Category Title: Enter the display name for the category. (e.g. "Case Studies").
- Image Settings: Upload a representative image for the category header.
- Recommended Resolution: 500px * 300px.
- Sort By: Enter a number to determine the order in the filter list (e.g., 1 for the first tab).
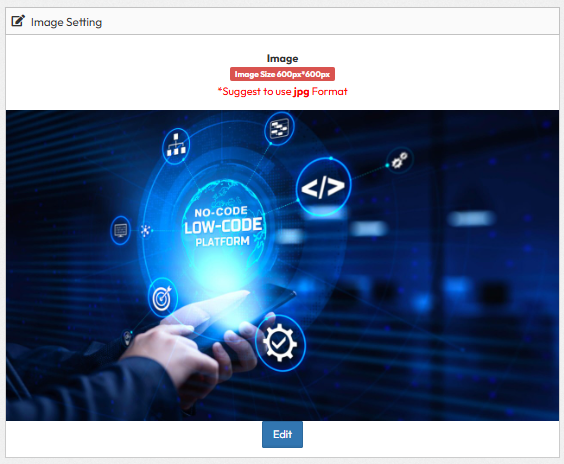
Blog Posts : Image Settings
- Image Settings
- Title: Social Share Image (OG Image)
- Subtitle: This image acts as the thumbnail preview when your page link is shared on social media (Facebook, WhatsApp, LinkedIn).
- Instruction: Recommended size is 1200px x 630px. Click the box to select or upload an image.
Blog Posts: Slider
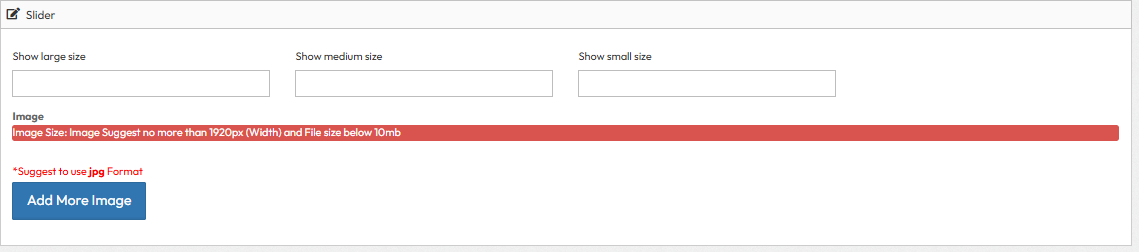
The Slider section allows you to display a carousel of images, ideal for highlighting featured content, banners, or visual stories.Key Features:
- Responsive Display: Adapts to different screen sizes while maintaining image quality.
- Size Control: Choose between Large, Medium, or Small display modes to suit your design context.
How to Configure
1. Display Size
- Select the preferred size for the slider container:
- Show Large Size: Full-width display for immersive hero banners.
- Show Medium Size: Standard container width, suitable for general content areas.
- Show Small Size: Compact size for sidebars or smaller highlights.
2. Image Upload
- Upload the visual content for the slider.
- Image Requirements:
- Dimensions: Suggest no more than 1920px (Width).
- File Size: Below 10mb.
Blog Posts: SEO Settings
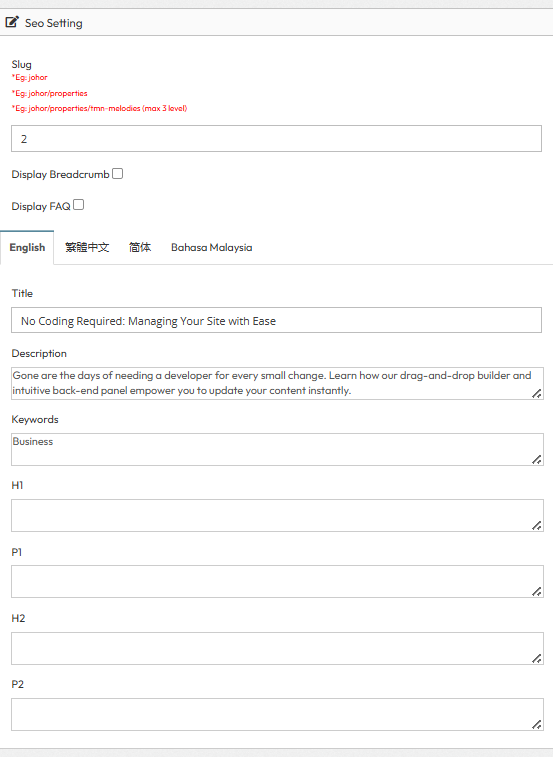
- SEO Slug: Defines the URL structure for this page. Use lowercase letters, numbers, and hyphens. Maximum 3 levels deep (e.g., category/page-name).
- Display Breadcrumb: Toggle ON to show the navigation path at the top of the page (e.g., Home > Blog > Post).
- Add Breadcrumb Page Option: Opens a modal to select which existing pages to add to the trail. Use Advanced Search to find pages by Slug or Title, then click the page row to define the Link Title, Slug, and URL.
- Display FAQ: Toggle ON to add a "Frequently Asked Questions" section to the bottom of the page. You can style the FAQ background, header, and list colors.
- Add FAQ List: Opens a modal to create new Question & Answer pairs in multiple languages.
- SEO Metadata: Enter the Title (blue link in Google), Description (summary text), and Keywords.
- Business Content (H1, P1, H2, P2): Structured content blocks for SEO. Enter the Main Heading (H1), Main Paragraph (P1), Sub-heading (H2), and Sub-paragraph (P2).
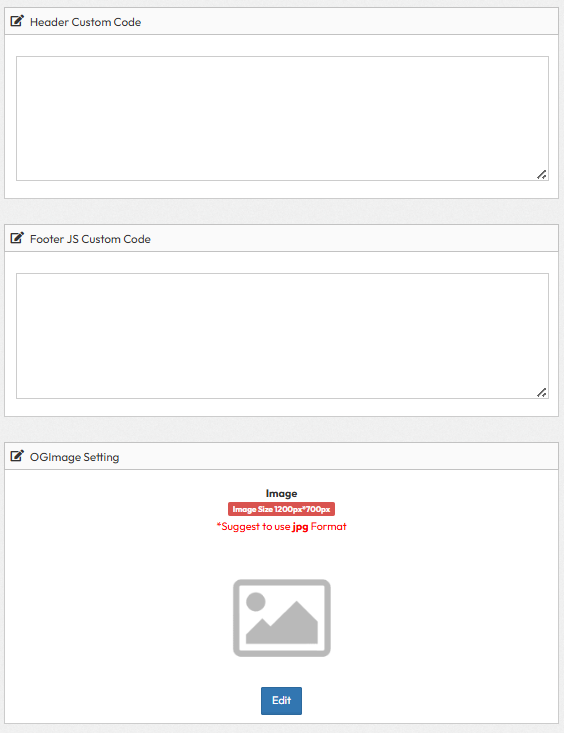
Blog Posts: Page Custom Code
- Header Custom Code
- What it does: Adds code to the <head> section of every page.
- What to put here: Paste your Google Analytics, Facebook Pixel, or custom CSS scripts here.
- Leave empty if you don't have tracking codes.
- Footer JS Custom Code
- What it does: Adds scripts to the bottom of every page (before </body>).
- What to put here: Paste Chat Widgets (like Tawk.to), Hotjar, or other JavaScript plugins.
- OGImage Setting
- What it does: Sets the default preview image when your website link is shared on social media (Facebook).
- Image: Upload a representative image (e.g., Logo + Tagline).
Step 2: Create Blog Posts
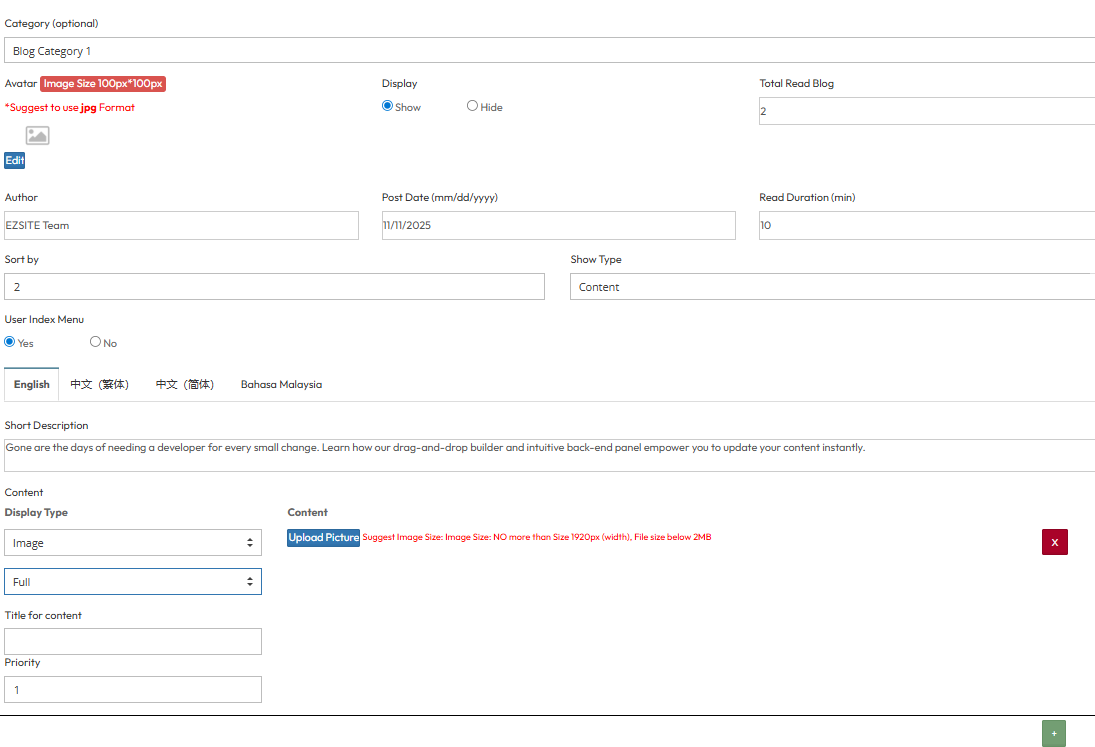
Create individual blog posts to populate the section.Navigation: Data List > Blog > Click the "Add Blog" button.
A. Basic Info Fields
- Configure the fundamental settings and metadata for the post.
- Category: Select the parent category (e.g., "News", "Tutorials").
- Avatar: Upload the author's profile thumbnail.
- Recommended Resolution: 100px * 100px.
- Author: Enter the author's display name.
- Post Date: Select the publication date.
- Read Duration: Enter the estimated reading time in minutes.
- Display: Toggle Show to publish immediately, or Hide to save as a draft.
- Sort By: Enter a number to set the display order (lower numbers appear first).
- Total Read Blog: Enter an initial view count number (e.g., "500").
- Show Type: Select the post format:
- Content
- Slider
- Content & Slider
- User Index Menu: Toggle Yes to include this post in the user index menu, or No to exclude it.
B. Content & Details
- Input the main body content and language-specific details.
- Languages: Input content for all active language tabs (English, Chinese, Malay, etc.).
- Short Description: Write a brief summary for the list/grid card view.
- Content: Enter the full article body using the rich text editor.
- Display Type: Select the content layout style (e.g., Image, Content,Video).
- Content Column Layout: Select how the text and media are arranged within the editor (Options: Full Width, 2 Columns (6|6), 3 Columns (4|4|4), or 4 Columns (3|3|3|3)).
- Upload Picture: Insert images directly into the content body via the editor.
- Priority: Set a priority level for the post (often used to pin or highlight specific articles).
Step 3: Configure the Blog List Section
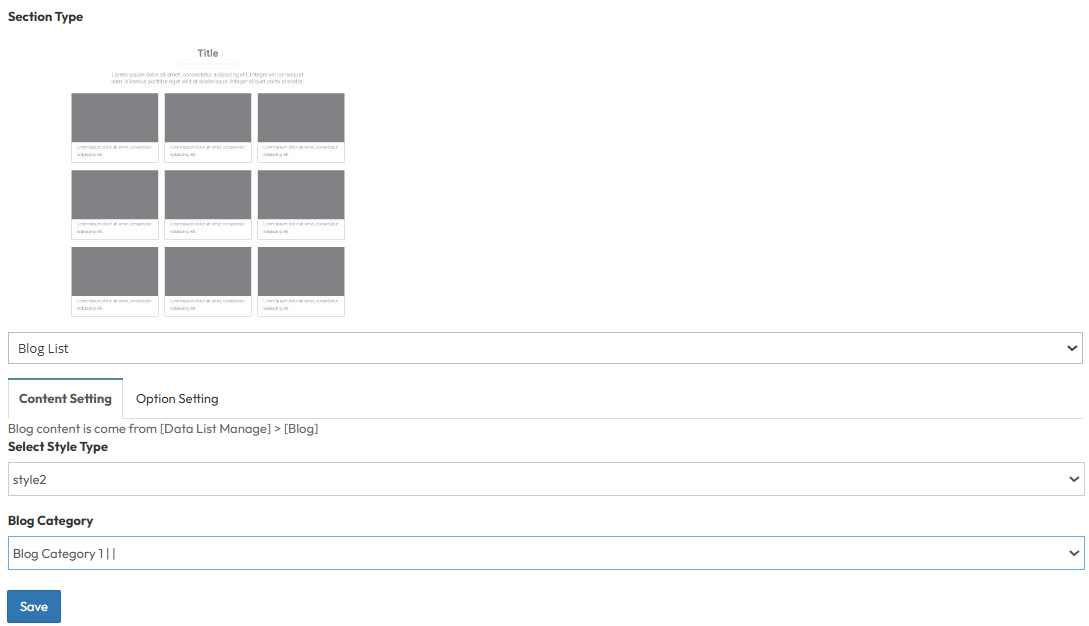
Now that your posts are created, configure how the list of posts looks on your actual webpage.Content Settings
- Select Style Type: Choose the layout design:
- Style 1: Vertical List – Image on the left, content on the right.
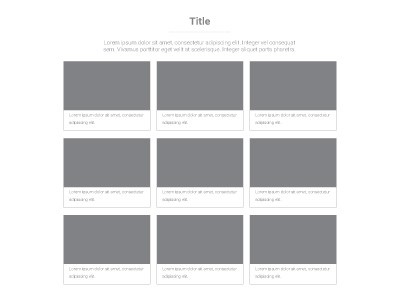
- Style 2: Card Grid – Image on top, content below. Includes a Category Filter Bar.
- Style 3: Featured Wide – Full-width image on top, content below.
- Blog Category: Select specific categories to display, or choose "All".
Step 4 : Blog List (Global Setting)
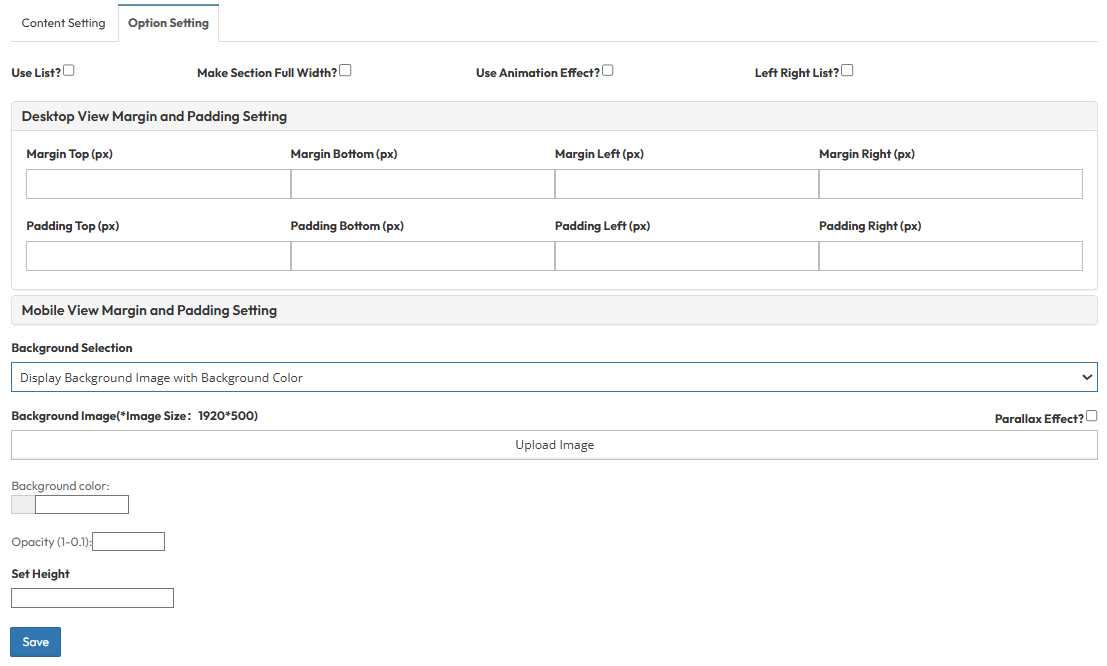
Control the layout container and spacing.- Use List?: Toggle "Yes" for a vertical List format. Toggle "No" for a Grid layout.
- Make Section full width?: Stretch the blog section to the full screen edges.
- Use Animation Effect?: Enable scroll animations for blog post cards.
- Left Right List?: (Requires List Mode) Toggle "Yes" to create an alternating "Zigzag" layout where image and text positions switch for consecutive posts.
- Desktop View Margin and Padding: Adjust external (Margin) and internal (Padding) spacing for Top/Bottom and Left/Right.
- Mobile View Margin and Padding: Adjust spacing values specifically for mobile devices.
- Background Selection: Choose a solid background color, upload an image, or select a default style.